Fundamentals of Digital Forensics
3. Digital evidence acquisition procedures
3.5. Acquisition techniques
The acquisition procedures is determinant to guarantee the integrity of the digital evidence and to facilitate its analysis process, being one of the techniques used in the scope of the good practices in digital forensics, which guarantees the admissibility of the evidence extracted in court.
We call acquisition the bit-by-bit binary copy of data storage devices, and there is also the so-called forensic copy or duplication (Figure 24).

Figure 24 – Storage Device Duplicator
Source: https://security.opentext.com/tableau/hardware/details/td2u
In any of the types of forensic collection used, it is important to bear in mind that the destination disk should have greater capacity than the source one.
3.5.1. Write Blocker
In the acquisition procedures, a hardware device (Figure 25) should be used to block writing to the source disk. In this way the integrity of the data on that disk is guaranteed, protecting the disk against inadvertent changes, such as from the operating system or antivirus, as well as the validation of the data copied to the destination disk.
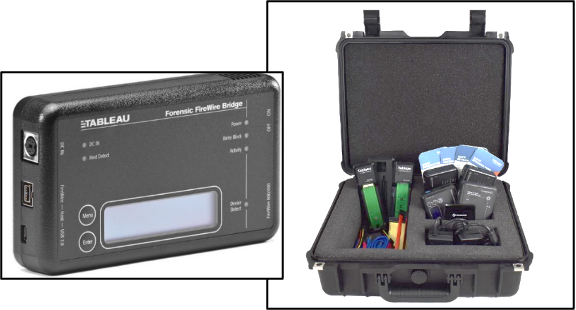
Figure 25 – Write Blocker
Source: www2.guidancesoftware.com
If you don’t have access to a hardware write blocker, you can use software write blockers. These require greater care in validating their proper operation, since they depend on the operating system we are using. Some examples are presented in Figure 26.
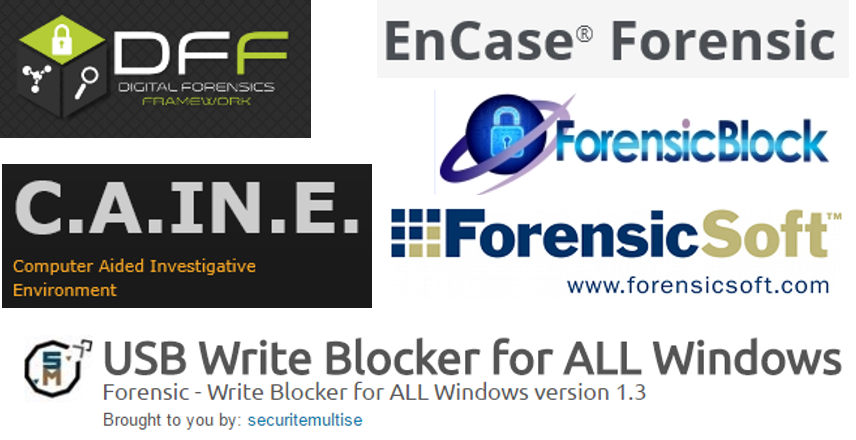
Figure 26 – Forensic software with write-blocking
The write blocking on the Microsoft Windows operating system can be done by creating the registry key
“HKLM\SYSTEM\ControlSet001\Control\StorageDevicePolicies\WriteProtect”, as described below:
•
“regedit”
in administrator mode and go to the following path:
“HKEY_LOCAL_MACHINE\SYSTEM\CurrentControlSet\Control”
• Create a new key in “Control” with the name: “StorageDevicePolicies”
• Add a new value of type “DWORD (32-bit)”, with the name: “WriteProtect”
• Change its information from “0” to “1”
• Test the lock with several storage devices
3.5.2. Comparison of procurement applications
It is possible to perform the forensic acquisition procedures in several operating systems, as there are multiple applications with the capacity to perform this task, an example of which is Figure 27 comparative of these same applications.
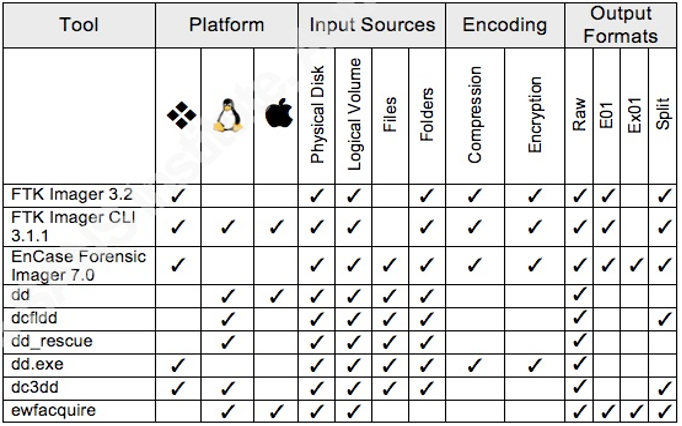
Figure 27 – Comparison of procurement applications
Source: Vandeven, Sally, The SANS Institute, 2014
Read: https://www.raedts.biz/forensics/forensic-imaging-tools-compared-tested/
3.5.3. Linux Acquisition
The acquisition through the Linux operating system, among other applications, can be done through dcfldd or dc3dd, applications derived from the well-known dd.
The device and its partition table must be identified
mmls /dev/sdb
Acquisition through dclfdd:
dcfldd if=/dev/sdb hash=md5,sha256 hashwindow=10G md5log=md5.txt sha256log=sha256.txt hashconv=after bs=512 conv=noerror,sync split=10G of=diskimage.dd
Or acquisition through dc3dd:
dc3dd if=/dev/sdb hash=md5,sha256 hlog=hash_log.log log= diskimage.log rec=off of=diskimage.dd
The log files should be checked, identifying the correspondence of the hashes of the contents of the source disk with the contents of the forensic image created in this procedure. It is also important to verify the unreadable content, or bad sectors, which in both procedures will remain without any written value, leaving this space with a value of 0 (zero).
3.5.4. Windows Acquisition
The acquisition through the MS Windows operating system, among other applications, can be done through the well-known free application FTK Imager from the company Acess Data.
You should select the Create Disk Image / Physical Drive option in the FTK Imager, as shown in Figure 28.
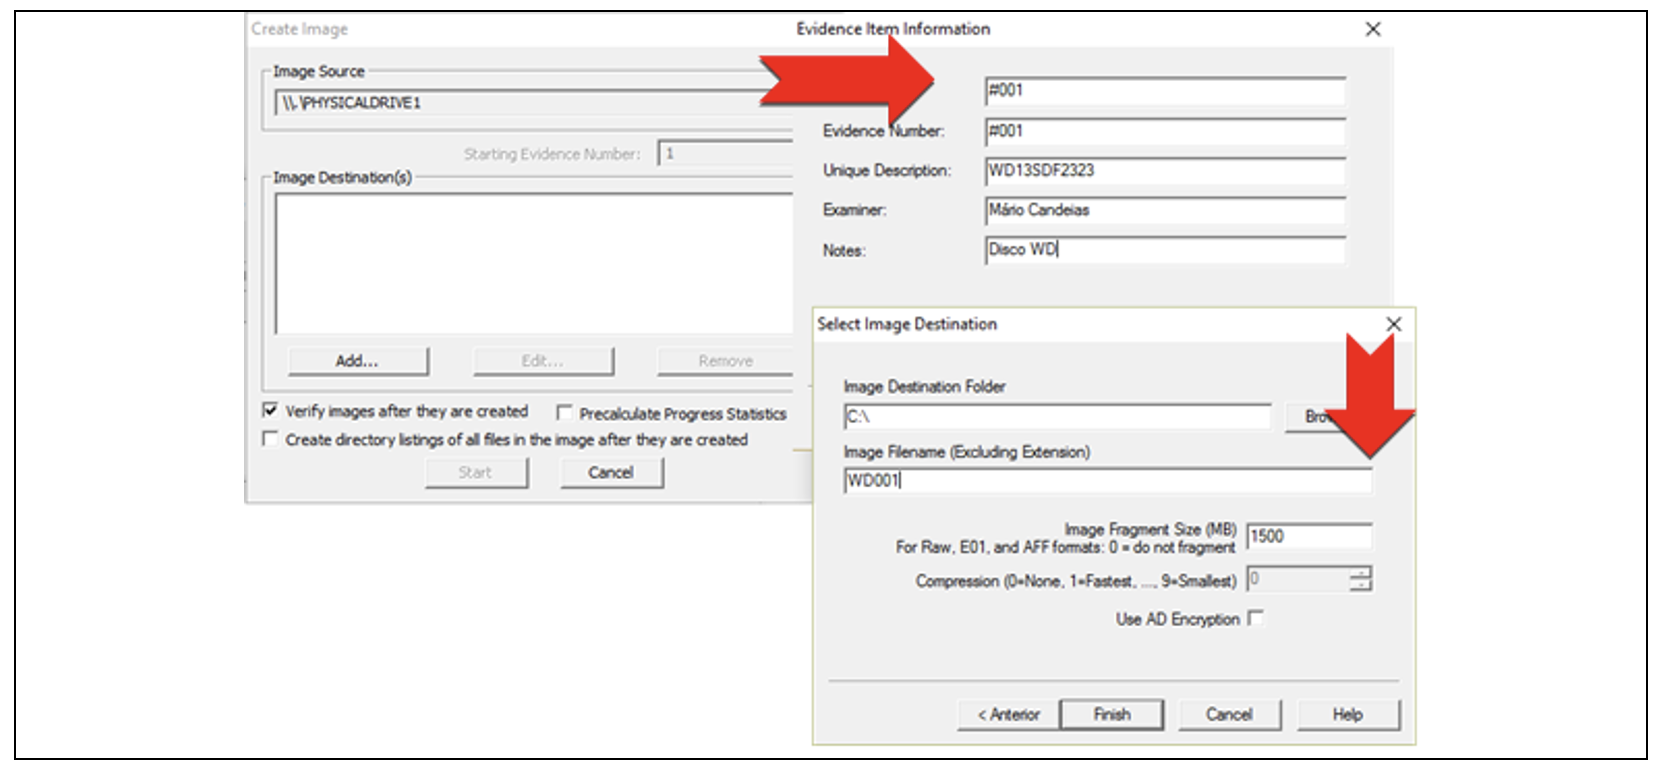
Figure 28 – Acquisition procedure with the AccessData FTK Imager
Before the beginning of the acquisition procedures, it is possible to select the option to create a list of all the files, which will be created after the acquisition and will be saved in the “.csv” format.
After the start of the acquisition, a validation window will be displayed, with the validation of the hash correspondence, as well as the information of the unread sectors, also called bad sectors (Figure 29).

Figure 29 – Acquisition result with AccessData FTK Imager
We will also have that same information in a text file, stored in the same location as the forensic image file (Figure 30). The “.csv” file will also be in the same location, if we have selected the create the file list.
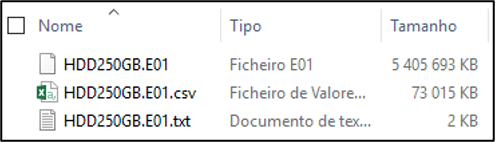
Figure 30 – Files resulting from the acquisition with AccessData FTKImager